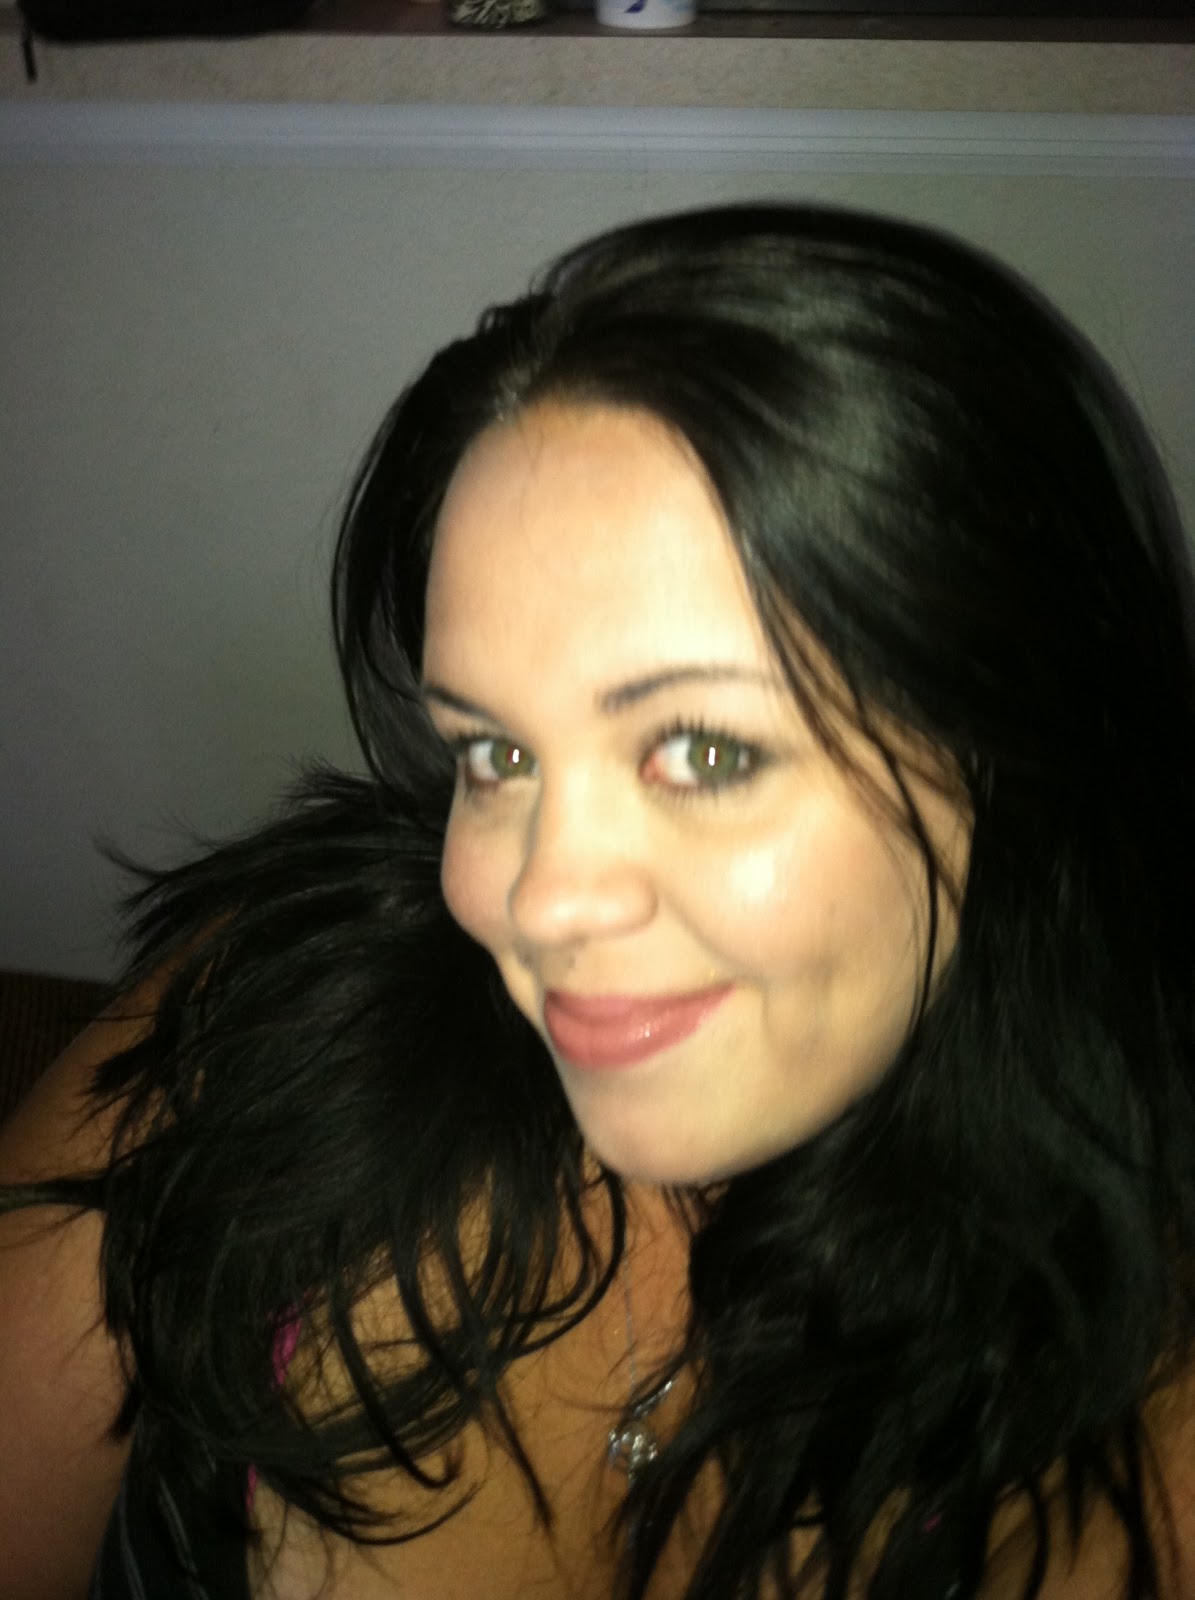
Wednesday, August 10, 2011
Where Have I Been?
Ahhhhhhh I've been sick... Will be back within the next few days... I'm starting a new YouTube channel as well, so I may get to that first! But I will let you know!
Monday, August 1, 2011
Twitter is up and running!!! Follow me!!
Hey Beauties! I have finally set up my twitter, so please follow me and have your friends follow me and feel free to give me ideas, ask me questions, or just talk to me on there!!!
Search for destinyzironic1 since blogspot doesn't want to cooperate!
Search for destinyzironic1 since blogspot doesn't want to cooperate!
Hard Candy Review: Sheer Envy Primers (2 of them!)
Hello Beauties!! Continuing with my Hard Candy Review Series (Check out my other reviews here>> Welcome Matte Review )
Today I am reviewing the 2 face primers that I have from Hard Candy!
First things First, what the 2 products look like!
First we have the Sheer Envy (Clear)

Then what the Purple one looks like:

Ok my beauties, that is my review of the Sheer Envy Primers, I will definitely repurchase the regular Sheer Envy, but pass on the Skin Illuminating Primer as I feel it is a fail! Have a great day!
Today I am reviewing the 2 face primers that I have from Hard Candy!
First things First, what the 2 products look like!
First we have the Sheer Envy (Clear)
 |
| I <3 the Hard Candy Packaging! |
 |
| That's WAYYYY too much to use... Just FYI! |

 |
| This is a Skin Illuminating Primer |
 |
| Once again nice packaging! |

Secondly, what Hard Candy promises this product will do?
- Directly from the Hard Candy website (this is the clear primer)
- Sheer Envy Primer helps to even out the skin while reducing shine. Improves foundation application while minimizing skin imperfections. Make-up lasts longer and skin is left velvety smooth.
- Directly from the Hard Candy website (this is the purple one)
- Illuminating Primer - A purple tinted, light translucent primer that gives a healthy, luminescent glow. Restores skins natural radiance, smooths skin and gives an overall airbrushed look! Can be worn alone or under makeup.
- Both of these are available at WalMart for $8.00
- Ok, so I am going to start with the Sheer Envy Clear Primer. This is my go to, grab every single day, use till it's gone, then cry because it's gone primer! It does create a smooth canvas, doesn't seem to add any oil, and just helps my foundation last! *I will repurchase this FOR DAMN SURE!
- Now, the purple one. This is Hard Candy's Sheer Envy Skin Illuminating Primer. This is a no go for me. This product seems chunky, does not blend in well, and actually ends up flaking off... The minute I touch my foundation to my face it flakes and looks like I'm peeling... As for evening out the skin and illuminating it, I see nothing of the sorts. *I will not repurchase, I feel like this is a miss from Hard Candy, sadly too, because I can see the potential of an amazing primer here, but somewhere it fails.
Ok my beauties, that is my review of the Sheer Envy Primers, I will definitely repurchase the regular Sheer Envy, but pass on the Skin Illuminating Primer as I feel it is a fail! Have a great day!
FOTD: I'm Buck Naked!
Hello Beauties! Today's face of the day is using my Naked Palette!!! Scroll to see how I got this look!


FACE::


FACE::
- So, today was a different face routine kinda so I'm gonna break it down. To see my daily routine you can still click >>> My Daily Face Routine...
- But today, I primed using Milk of Magnesia all over (See my instructions on how to do this here >> How To Use MOM for Oily Skin)
- Then I concealed my undereyes using my Physician's Formula Twins Concealers and set with the yellow powder in the e.l.f. Complexion Perfection Compact
- Then I applied my NEW foundation: Revlon PhotoReady (Ok, So I am testing this to see how I like it and if it will work on my wedding day!) My shade is 004 Nude (applied using my e.l.f. Powder Brush)
- Then I set everything with my *NEW* powder: Milani The Multitasker Face Powder (Another test product for the wedding!) My shade is 03 Medium (applied using my e.l.f. Complexion Brush)
- I used my e.l.f. Contouring Blush & Bronzer Duo for both blush and bronzer (I applied my blush using my e.l.f. Powder Brush, then I applied my bronzer using e.l.f.'s Professional Blending & Bronzing Brush)
- I applied my e.l.f. Eyelid Primer in Champagne all over my lid.
- Then I used my Naked Palette to achieve the rest of the look!
- I applied Naked all over the lid (applied using my e.l.f. Professional Eyeshadow Brush)
- Next I applied Buck in the crease and slightly on the outer V (Using my e.l.f. Professional Crease Brush)
- Then I applied Smog in the outer V and BLENDED out (applied using my Sonia Kashuk Large Crease Brush)
- Then I smudged Creep and Buck under my lid and over my Wet N Wild Gel Liner (Liner applied using my e.l.f. Bent Liner Brush, Creep & Buck applied using my e.l.f. Small Angle Liner Brush)
- I highlighted my browbone using Virgin (Using the Urban Decay Shadow Brush)
- Then I curled my lashes and applied Rimmel's Glam'Eyes mascara
- I applied e.l.f.'s Lip Liner & Blending Brush in Natural all over the lips
- Topped that with e.l.f. Essentials Lipstick in Classy
- Added a light layer of e.l.f.'s HyperShine LipGloss in Flirt
Friday, July 29, 2011
First NOTD:: I'm Wearing a Black Tie Pinky Ring!!
Hey beauties, new thing here on the Destinyz Ironic! NAIL OF THE DAY!!! (well, when I change them) LOL!
So I am wearing Confetti's Black Tie with Sally Hansen Xtreme Wear in Pinky Ring over that!!! Check it out! (I still need to cleaned up but ya)

 And there you go beauties!
So I am wearing Confetti's Black Tie with Sally Hansen Xtreme Wear in Pinky Ring over that!!! Check it out! (I still need to cleaned up but ya)
 |
| Pinky Ring, it's a clear polish with purple and pink glitter |
 |
| I wish the camera picked this up better... |
 |
| Confetti in Black Tie |


FOTD: I have a Smoked out Pink Eye! :)
Hey Beauties!!! My FOTD today was a tough one to decide on! I ALMOST went neutral, which has been my go to for a week now, but thanks to my friends at Beauty Broadcast, I decided to go with a fun cute sliver and pink smokey eye! Check it out below!

And here's how I got this look:::::
FACE:
 |
| WOooHOooOO |
 |
| Pretty?!?!?!? |
 |
| I'm begging you ignore the eyebrows... OH MY GOD... how I wish they would grow FASTER! |
 |

 | |
| On my nails *I will do a separate post for NOTD* Confetti's Black Tie & Sally Hansen's Xtreme Wear in Pinky Ring |
FACE:
- I followed my Daily Face Routine which can be found here >>> MY FACE MY FACE PLEASE CLICK ME <3
- I set everything with Hard Candy's Welcome Matte Mattfying Powder *You can see my NEW review on this product here >> Welcome Matte... *click me please*
- I am darkening my foundation due to tanner chest using NYC Sunny Bronzer lightly dusted all over my face (Using my e.l.f. Powder Brush)
- I used Hard Candy's Fox In a Box in Hot Flash on my cheeks! (Using e.l.f.'s Complexion Brush) *I will be reviewing this and other Hard Candy products in the next coming days, stay tuned*
- Then I contoured slightly using NYC Sunny
- I primed using e.l.f.'s NEW eyelid primer in Pearl
- Then I used e.l.f'.'s Cream Eyeshadow in Black Licorice *sliver only* as a base
- Next, I used my Wet N Wild Spoiled Brat trio for the colors... but any nice shimmery sliver will work with a BRIGHT fun pink
- I applied the sliver from this trio all over the lid to the crease (applied using my e.l.f. Professional Eyeshadow Brush)
- I then applied the pink on the outer third, the outer crease, and the outer V and BLENDED BLENDED BLENDED (Applied using the Sonia Kasuk Large Crease Brush)
- I tightlined using Wet N Wild's Gel Liner (Applied using e.l.f.'s Bent Liner Brush)
- I LIGHTLY ran my Milani Liquif'Eye in black on my lower lash line
- I then curled my lashes and applied Hard Candy's Big Curls Don't Cry Waterproof Mascara *Review coming on this soon in my Hard Candy Series STAY TUNED!!*
- I lined my lips using e.l.f.'s Lip Liner and Blending Brush in Natural
- Then I applied Revlon's Colorburst Lipstick in Warm Me Up
- Then topped it with Hard Candy's Glossaholic in Gorgeous! *Review pending... Stay tuned!!!!*
Hard Candy Review: Welcome Matte Mattifying Powder
Hey my Hard Candy loving Beauties!!!!
So, we are stepping into CandyLand today, for the first time. Doing an UPDATED review on... Hard Candy's Welcome Matte Mattifying Powder!
First things first... What the product looks like:


Secondly:
What does Hard Candy promise this product will do??
This is highly important beauties.... How much does this cost???
The review... What oh What do I *me* Think of this product:
So, in conclusion beauties.... I definitely recommend this product is your are looking for a mattifying powder at an affordable price. And, in the best recommendation I can give, I will be REPURCHASING this when I hit pan! So, have a beautiful day beauties and enjoy!!!
So, we are stepping into CandyLand today, for the first time. Doing an UPDATED review on... Hard Candy's Welcome Matte Mattifying Powder!
First things first... What the product looks like:


 | |
| Love the impressed logo <3 *swoon* |
What does Hard Candy promise this product will do??
- So, Hard Candy states that this Mattifying Powder with micro-pigment will 'float' over skin, setting makeup, eliminate shine, and last all day!
This is highly important beauties.... How much does this cost???
- $8.00 (available exclusively at WalMart)
The review... What oh What do I *me* Think of this product:
- Ok, so I reviewed this product actually twice before, and to be honest I messed up my reviews, I am actually removing them because they just aren't fair! So, I have been using this product pretty consistently though out the HOT HOT Florida summer. *Note: I HAVE OILY SKIN, THIS IS A REVIEW ON MY SKIN AND MY SKIN ALONE, I AM CLAIMING THIS PRODUCT WILL WORK THE SAME ON YOU, BUT THIS IS MY EXPERIENCE* So, to break it down does it live up to the promises Hard Candy makes, well... lets check them out individually...
- Does it 'float' over the skin?
- Yes, it provides a light setting over my foundation, and evens everything out to matte, seamless finish.
- Does is 'set' your makeup/ foundation?
- Yes, it sets everything, though I believe almost any powder 'sets' foundation!
- Does it 'eliminate unwanted shine'?
- YES! YES! YES! YES! I throw this in my purse, and use it throughout the day now to eliminate that wonderful shine that loves to show up after I even stepped outside from it being so dang! hot outside! It soaks up the oil, and re-sets everything to a beautiful matte finish! I also does not seem to add any cakiness on my face!!
- Does it 'last all day'?
- Um, no! At least not in 100 + degrees! This is the only time I have personally tested this product, and no, it does not last all day! Does it last long, um, I would say I could go about 3-4 hours without touching up. Although, I must say, though it doesn't last all day, I am still finding myself reaching for this!
So, in conclusion beauties.... I definitely recommend this product is your are looking for a mattifying powder at an affordable price. And, in the best recommendation I can give, I will be REPURCHASING this when I hit pan! So, have a beautiful day beauties and enjoy!!!
Hard Candy Review: 1st things 1st, a little history
hey Beauties!
Ok, so some of you may or may not be familiar with Hard Candy Cosmetics...
So, from some of my research I have determined this company was found in 1995, then sold in 1999, then was sold in duty free shops. Then in 2009, they made a BRILLIANT move and decided to make their product available to all of us beauties by selling it in non other then WalMart. Now, in 1995 the nail polish I believe was the only product and was brought to fame by Alicia Silverstone mentioning wearing it on The Late Show with David Letterman, then the owners appeared on the MTV show House of Style several times.
So, where are they today? Well, they are sold exclusively at WalMart and online through Hard Candy's Website. They range, at least in my experience, from around $4-$10 per product.
So, I own a few products from this company and I must say I am impressed! I love MOST of my products that I have bought from them. Now I have previously reviewed the Welcome Matte Mattifying Powder from them, but I am updating that review in this series....
Ok beauties, now to get to the reviews. Follow me for my reviews. I will be posting pretty regularly, so keep checking. Also, let me know in the comments what you think of your Hard Candy Products!
Wednesday, July 27, 2011
Review Series Coming Up!!! Interested.... Check it out!
Hello Beauites! Hope everyone is doing amazing today!
So who would like a review series on one product that I seem to have accumlated a lot of here recently?
Do you want honest opinions on a drugstore brand???
Well... you're in luck cause guess what???
I'm doing a review series on....

Yes! Hard Candy! I have accumulated quite a few products from them and I have decided to make a series that I will review each item separately.... so if you are interested STAY TUNED!!
Monday, July 25, 2011
FOTD: I'm Naked!
Hello Beauties!!!!! I'm back! Here's my VERY FIRST FOTD using my Naked Palette!
And here's how I achieved this look!
FACE:
 |
| A fun bronzy neutral eye! |
 |
| On my nails is sally Hansen complete Salon Manicure in Back to the Fuchisa |
 |
| Peekaboo! |
 |
| AHHH |
 | ||
| I think I am going crosseyed here |
FACE:
- I followed the steps in my Daily Face Routine found here >>> FACE!!!!!!!!!!!!!!!!!!!!!!!!!!!!
- I set everything using my e.l.f. HD Powder using my Powder Brush
- I applied e.l.f.'s Studio Blush in Candid Coral (Applied using e.l.f.'s Powder Brush)
- I applied NYC Sunny all over the face, LIGHTLY!!! (Applied using e.l.f.'s Complexion Brush)
- EVERYTHING IS FROM Urban Decay's Naked Palette!
- I used UD Primer Potion all over the lid
- Then I applied Half Baked all over the lid (Using e.l.f.'s Professional Eyeshadow Brush)
- Then I applied Toasted on the outer V and Crease and blended all the way into the crease (Applied with Urban Decay Shadow Brush included with the Naked Palette)
- Then I defined the outer V using Gunmetal (e.l.f's Professional Crease Brush) and Blend Blend Blend (Using e.l.f.'s Blending Eye brush)
- Then I smudged Gunmetal underneath the outer half of the lower lash line (Using the e.l.f. Smudge Brush)
- Then I topped the Gunmetal with Toasted (again with the Smudge BRush)
- I tightlined using Wet N Wild Gel Liner in 886 (Applied using the e.l.f. Bent Liner Brush)
- I waterlined using my Milani Liquif'Eye in Black (HOLY GRAIL)
- Then I curled my lashes and applied L'Oreal Voluminous in Soft Black
- I applied Milani Lip Flash Full Coverage Shimmer Gloss Pencil in #06 Flashy
- Topped with Bonnie Bell LipLites in Cream Pop
MY FIRST Wedding Post! LOL! Non-Makeup Related... Just so you know!
Ok ladies! I am doing all my own stuff for my wedding... so I started working on my centerpieces today... And these are the candles we are considering using.
I bought these UNSCENTED white pillar candles from Wal-Mart ($1.88 a piece)
Then I bought turquoise ribbon and black ribbon and hot glued them on!

 I think their so pretty! What do you think?
I bought these UNSCENTED white pillar candles from Wal-Mart ($1.88 a piece)
Then I bought turquoise ribbon and black ribbon and hot glued them on!


Sorry Beauties!
Ok, so I know I have MIA!! UGh! I have a really crazy busy week last week but I am back and I have my Naked Palette too! So excited! I will be posting a review of a new moisturizer and I will be posting a FOTD TODAY!!!! Thanks!!
Friday, July 15, 2011
FOTD: I'm Scratching Zero Underground << That one was hard
Ok, beauties today's look was inspired by allthatglitters21, and it's from the Urban Decay Deluxe Eyeshadow Palette


 So here's how to do it...
FACE:
 |
| Neutral with a pop of color under the eye |
 |
| Once again, I am growing in my eyebrows |
 |
| WOooHOooOO |
 |


FACE:
- See my daily face routine here >> Destinyz Ironic's Daily Face Routine
- Set with True Match Pressed Powder
- I applied e.l.f.'s blush in Pink Passion on the cheekbones (e.l.f.'s Complexion Brush)
- I contoured with NYC Sunny (e.l.f.'s Blending and Bronzing Brush)
- I highlighted using my Too Faced Candlelight (Fingers)
- I primed using my e.l.f. Eyelid Primer
- I used a purple cream liner as a base (I used Physician's Formula Shimmer Strip Glam Eyes)
- Then I packed on Scratch from the Urban Decay Deluxe Eyeshadow Palette all over the lid to the crease (e.l.f.'s Professional Eyeshadow Brush)
- Then I placed Underground (same palette) into the crease and outer corner (Using the e.l.f. Crease Brush)
- Then lightly placed some Zero (same palette) ontop of the underground and BLENDY BLENDY BLENDY till it was how I wanted it (Using e.l.f.'s Blending Eye Brush)
- Then I lined my lashline using Milani's Liquif'Eye in Black then topped with Zero (Using an angled eyeliner brush)
- Under the lower lashes I smudged Peace (same palette) all the way under the lower lash line (Using the e.l.f. Smudge Brush)
- In the very outer corner of the lower lashes I placed a small amount of Ransom (a small brush...)
- Then I applied Milani Liquif'Eye to the waterline
- I curled my lashes and applied Rimmel's Glam'Eyes
- I applied Hard Candy's Painted Lady Lipstick in Knockout
- Topped with e.l.f.'s Super Glossy Lipshine in Pink Kiss
Thursday, July 14, 2011
I'm Getting Naked!!!
OMG! So the future hubby, after much explaination as to WHY I need it, let me get the....
 I'm sooooooooooooooooooooooooooooooooooooooooooooooooooooooooooooooooooooooooooooooooo excited!!! It should be here by next week! I cannot wait! I will definetely be doing A LOT of looks with this... and I will also be doing a BRIDAL look with this. Oh and no FOTD today because I am washing my brushes!
YEA
YEA
Wednesday, July 13, 2011
FOTD... Girl Luving Pink... Dramatic!
Hey Beauties,
So I reached for my Milani Baked Eyeshadow in Girls Luv Pink again! This time its different then my last Girls Luv Pink look though (can be seen here >> Girls Luv Pink Look 1) So keep reading if you wanna see more!
FACE:
So I reached for my Milani Baked Eyeshadow in Girls Luv Pink again! This time its different then my last Girls Luv Pink look though (can be seen here >> Girls Luv Pink Look 1) So keep reading if you wanna see more!
 |
| If you haven't noticed my eyebrows are out of control... WHY??? Cause I am going them out to reshape them :( |
 |
| Kinda neutral looking today... Maybe :) |
 |
| Boo! |
 | |
| WOooHOooOOooOO |
- In addition to my daily face routine I dusted NYC Sunny Bronzer all over my face using my e.l.f. Total Face Brush
- I followed my daily face routine which can be seen here >> Michele's Daily Face Routine
- I set with Hard Candy Welcome Matte today
- I used the blush from the e.l.f. Contour Blush and Bronzer applied to the cheekbones (Applied using the e.l.f. Complexion Brush)
- I contoured using NYC Sunny Bronzer (e.l.f.'s Blending and Bronzing Brush)
- Testing out Hard Candy's Eyeshadow Primer so I applied that all over my lids
- I used Revlon's Illuminance Creme Shadow in Wild Orchids (the third color from the left) as a base
- I then packed on Milani's Girls Luv Pink all over the lid (Using e.l.f.'s Eyeshadow Brush)
- Then I used the brownish shade from the 100 Eyeshadow palette from e.l.f it's the color 6th row from the left 5th color from the bottom (Using e.l.f.'s Crease Brush then BLENDED out with the e.l.f. Eye Blending Brush)
- I smudged that brown color under the lower lashes from the outer corner to about half way in (Using e.l.f.'s Smudge Brush)
- I applied Physican's Formula Gel Cream Liners Shimmer Strips for Hazel Eyes in brown to the outer half of the upper lid (Using the e.l.f. Eyeliner Brush)
- Then I smudged it on the directly under the water line using the same brush
- I curled my lashes and applied Rimmel's Glam'Eyes Mascara
- I applied Milani's Lip Flash in Flashy all over the lips
- I topped that off with e.l.f's Hyper Shine lipgloss in Fairy!
Tuesday, July 12, 2011
FOTD 7/12/11... Pushing Petals Mix Up...
Ya...Not really feeling the other side of the Petal Pusher Palette from WnW.... Kinda feel like I have a purple sparky eye that's not to crazy... I don't know...


So here's how I got this look beauties~
FACE:
 |
| I mean I like the look... but I don't think it was anything I couldn't achieve with purples from any company :( |
 |
| This side is a little darker, but I mixed it up |
 |
| Purple |
 |
 |
| Add caption |


FACE:
- I have added a page to show my daily face routine because it's pretty much as the same: click here >>> The Destinyz Ironic Daily Face
- Simple today, just used Milani's Baked Blush in Dolce Pink (Applied with the elf Powder Brush on the cheekbones)
- So I used the RIGHT SIDE OF THE PALETTE only when indicated by RS and LEFT SIDE when indicated by LS
- Primed the eye using elf's Eyelid Primer
- I applied the 'eyelid' color from the RS of the palette all over the lid (applied with with elf's Professional Eyeshadow Brush)
- I used the 'crease' shade from the LS of the palette on the outer half and outer V of the eye (applied with elf's Professional Blending Brush)
- I applied the 'definer' shade from the LS of the palette in the crease and blended it out (applied with elf's Professional Eye Crease)
- I lined my eyes using Physician's Formula Gel Cream Eyeliner in Black from the Green Glam Eyes Shimmer Strips collection on the tightline.
- I smudged the 'crease' shade RS of the palette under the OUTER HALF of the lower lashline ( applied using elf's Smudge Brush)
- I waterlined using the Physician's Formula Gel Cream Eyeliner in Purple from the Green Glam Eyes Shimmer Strips collection
- Curled my lashes and applied L'Oreal Voluminous Mascara in Soft black
- I used NYC (bullet lipsticks) in #301 Cafe
- And applied Elf's Shimmer Gloss in Pink
Subscribe to:
Posts (Atom)